What if I tell you that you don’t need a PC to use Windows anymore? Yeah, you heard right now you can emulate Windows on your Android device from Windows 95 to Windows 10, isn’t it amazing? The Vectras emulator has made it possible and do keep in mind that it’s still in its alpha stage so there is a lot more to come.
Not just Windows it can also run ReactOS and Kali Linux and I am damn sure with future updates it is just gonna be better. Vectras emulator is a virtual machine app made for Android and based on QEMU.
Well, it’s time to reveal the requirements you need to run the Vectras emulator on your Android device. Let’s take a look at it.
Requirements to run Vectras
Make sure that at least your device meets minimum system requirements to run the Vectras emulator. When it comes to the processor make sure it is an octa-core processor, if it’s quad-core it might not run on your device.
Minimum System Requirement
- Android Version: Android 5.0+
- RAM: 3GB RAM (1GB Free RAM)
- Processor: Snapdragon 450 (at Least)
Recommended System Requirement
- Android Version: 11+
- RAM: 8GB (4GB Free RAM)
- Processor: Snapdragon 720G or better
- Compiled kernel with KVM support
If your device meets the mentioned requirements then you are good to go. Now it’s time to jump into the download & setup process.
Vectras Emulator Android Download
Are you able to see the button below? Just click on it and it will take you to their official GitHub page. On their page, you’ll find all the releases of the app till now. if the latest version doesn’t work well, download the older ones.
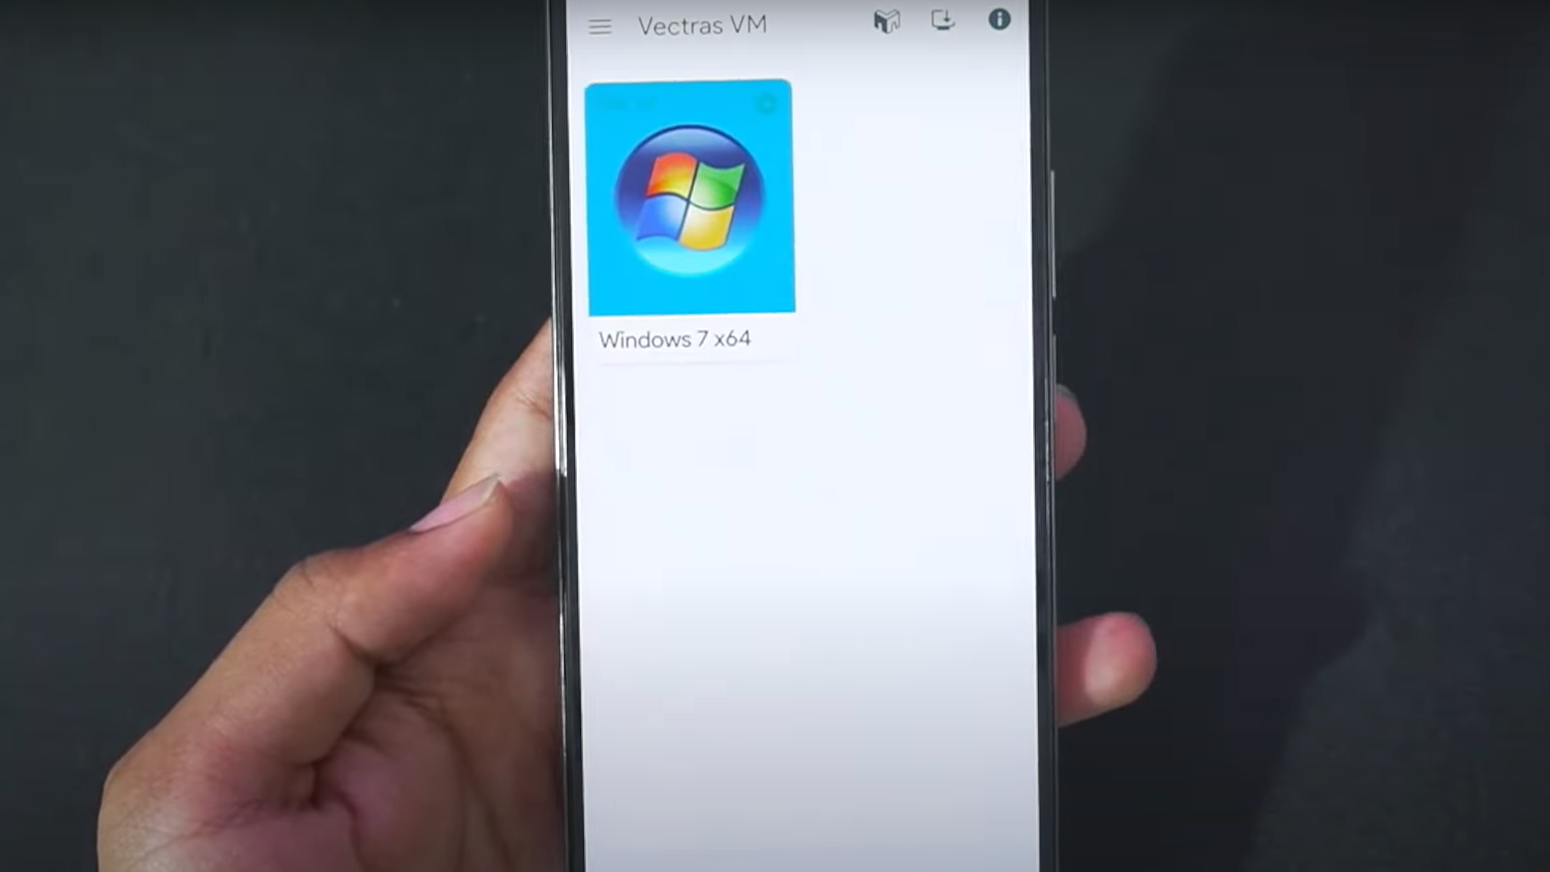
On opening the for the first time it will ask you to sign up but you can proceed to use it as a guest user. Right after that, you will see the interface as shown in the image below.
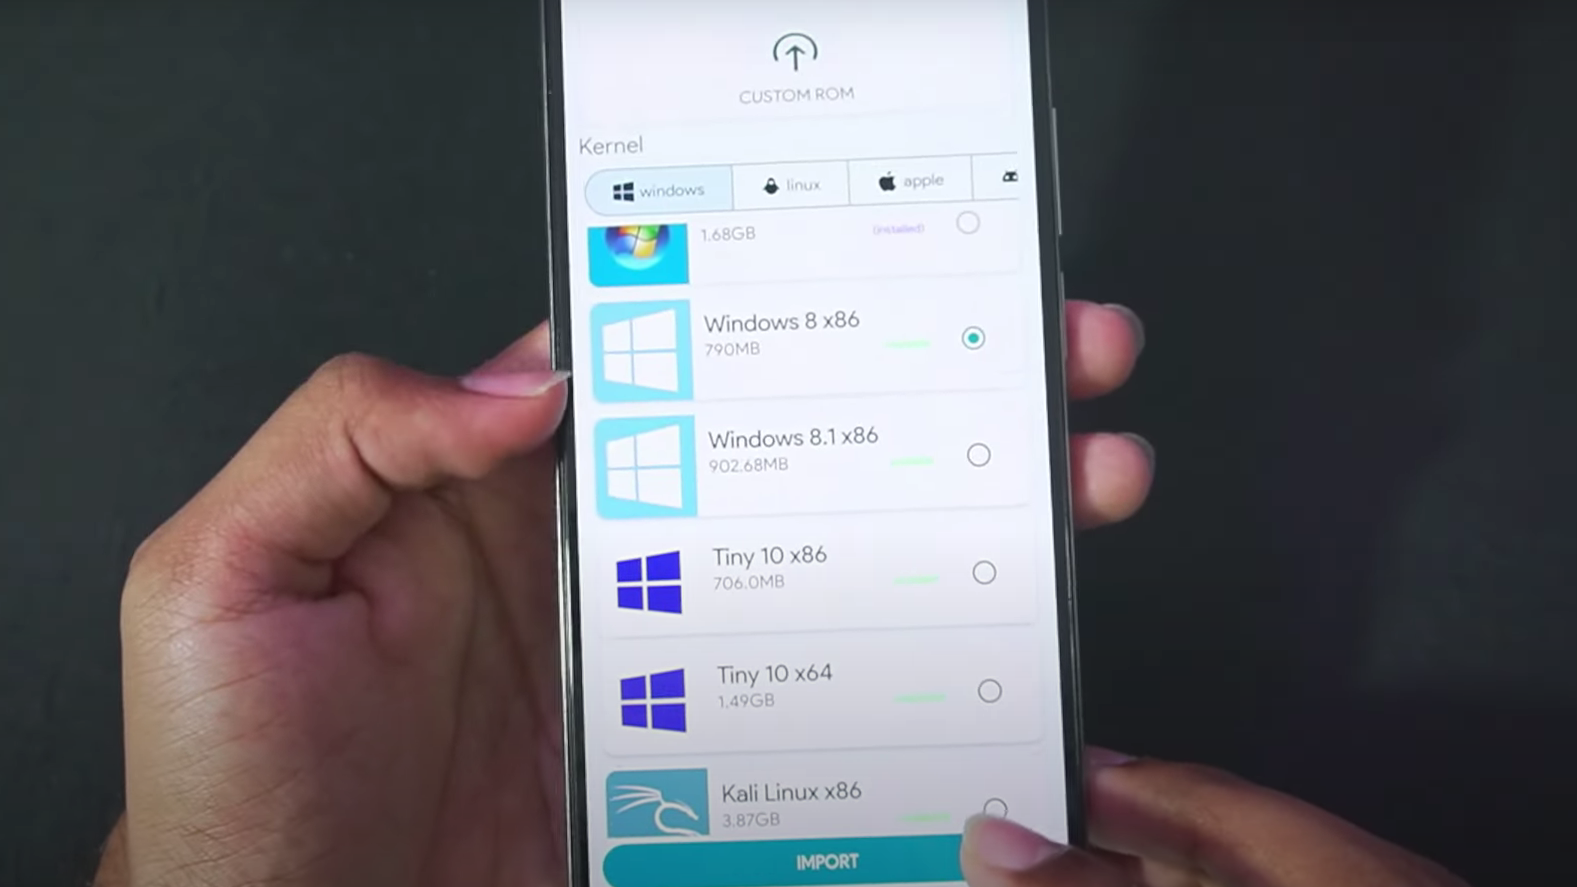
To use your desired Windows version click on the second option in the top right corner. Right after clicking on it, you will come across a list of Windows OS versions as well as other OSes. Choose the one that you want to import.
For example, in the image below Windows 8 is selected but you can choose the one that you want to use. and then click on the import button.
It is gonna take a while to finish importing the OS so wait till then. After the importing is done you will see the imported OS on the home screen. Before clicking on it do perform some settings.
Settings for Vectras Emulator
Click on settings and then QEMU. You will get a lot of options, settings that I have done are mentioned below you can either copy it or choose according to you.
- CPU Model: Intel Core 2 Duo P9xxx (you can try other CPU models also)
- CPU Core: Keep it at 2 or 3 (you can also keep it higher as per your device specification)
- Custom Memory: ON
- MEMORY: 2096 MB or higher (as per OS requirements)
Congrats! you have successfully set up Vectras Emulator on your device. Now click on the OS you have imported and it will take around 2-4 minutes to start.
If you still face any issues with the setup process head over to the video below. It will surely help you to understand the setup process better.


Pingback: Winlator Android 6.0 Update Download | Windows Emulator Android - FroztTech